GETTING STARTED with the VEKTR Digital Canvas is easy. In 10 simple steps, this tutorial will help you learn how to bring customized interpretations of your own digital imagery to large-scale architectural glass applications.

1 SELECT A SOURCE IMAGE
Select a Source Image to personalize your VEKTR glass designs. You can use virtually any photo as your source image. Capture the shot you want with your smart phone or tablet. Browse your own image library. Choose low-res stock images. Use your client's artwork. Scan print pieces or material swatches. The choice is yours. You don't need professional photography.
2 CREATE A VEKTR CANVAS
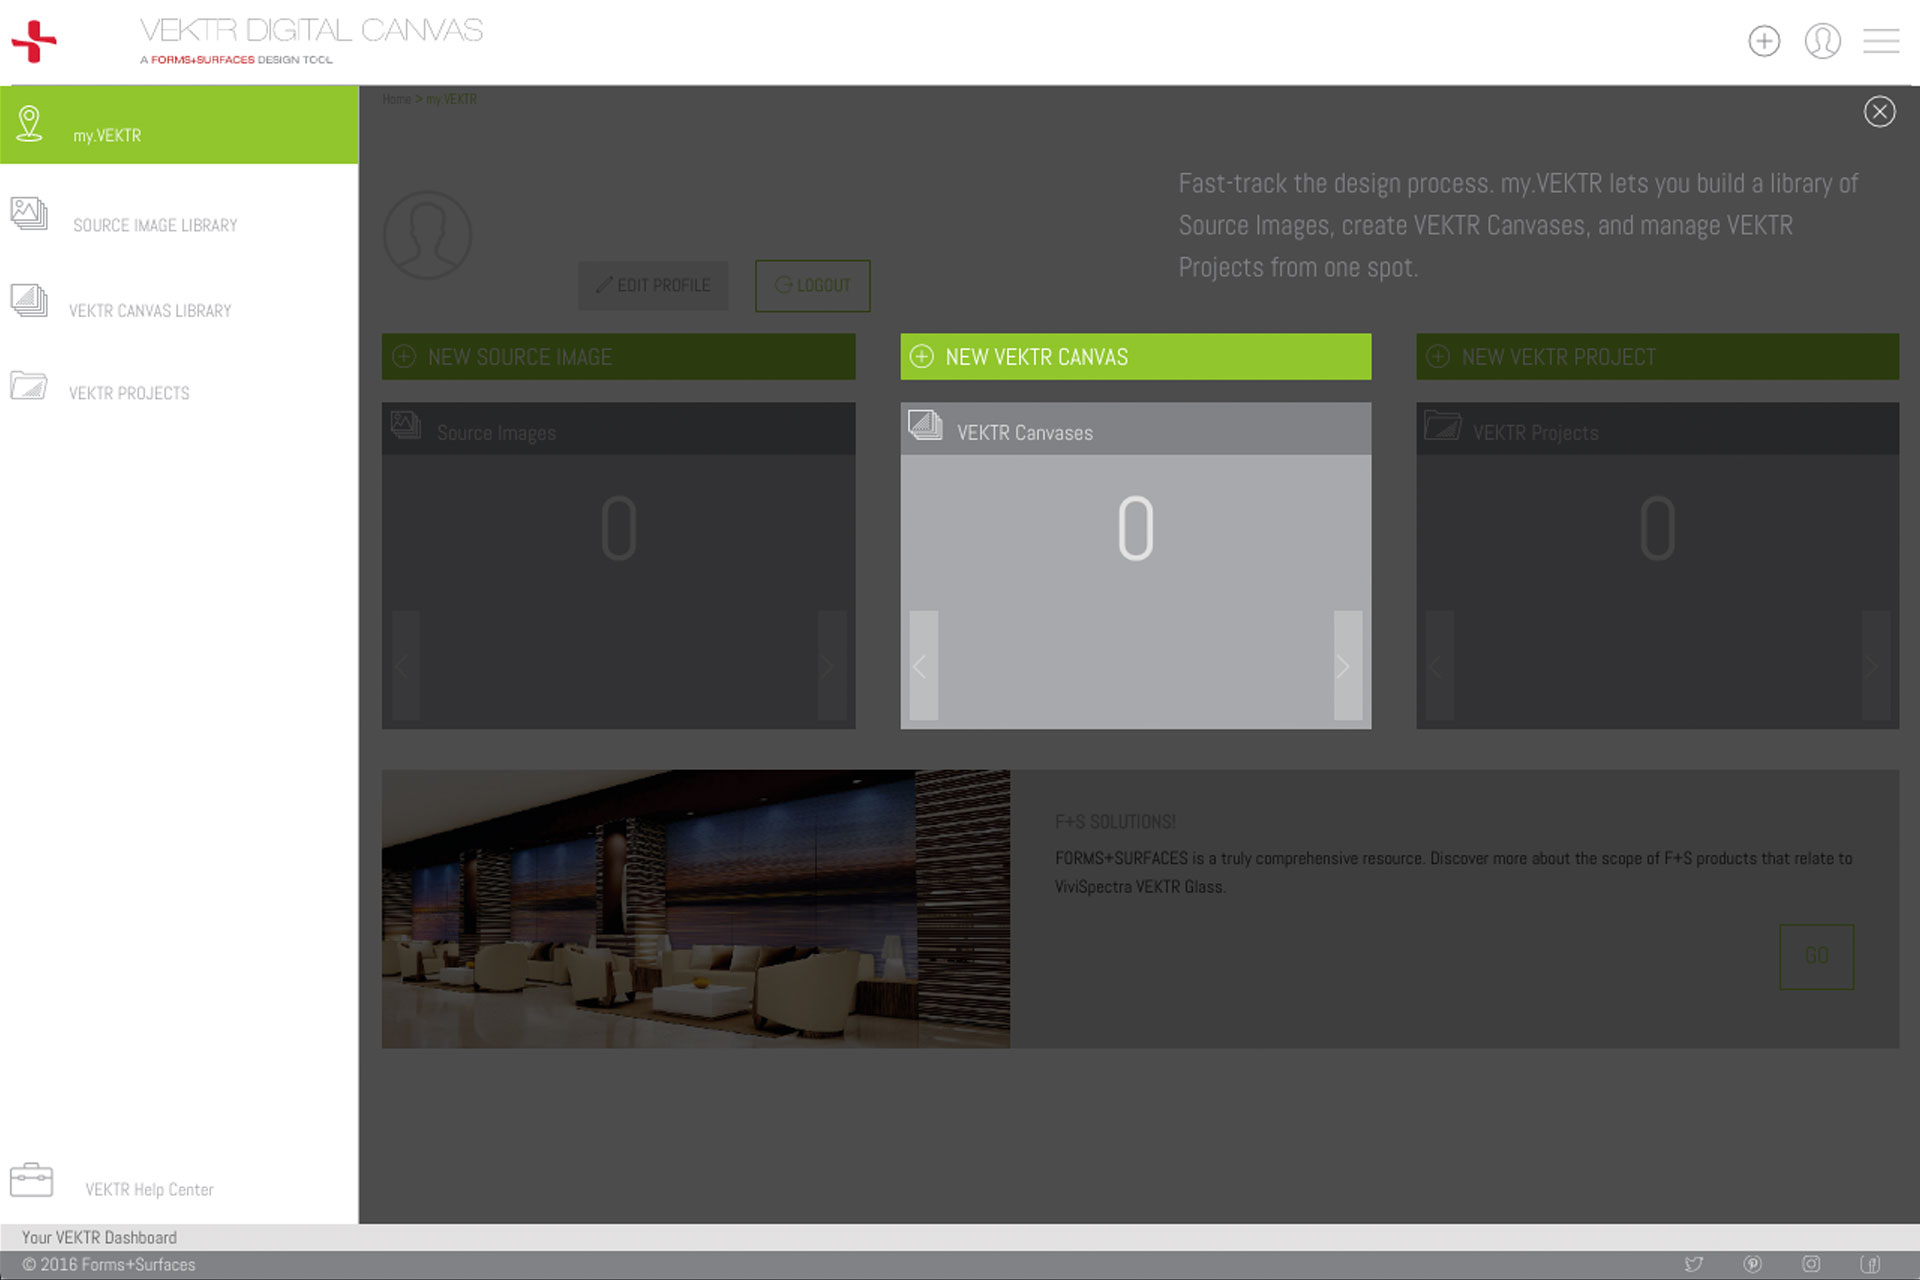
After logging into the VEKTR Digital Canvas, you’ll be welcomed by the my.VEKTR dashboard, which is comprised of your Source Image Library, VEKTR Canvas Library, VEKTR Projects, account information and navigation menus. To start creating a new VEKTR Canvas, click NEW VEKTR CANVAS.
3 ADD YOUR SOURCE IMAGE
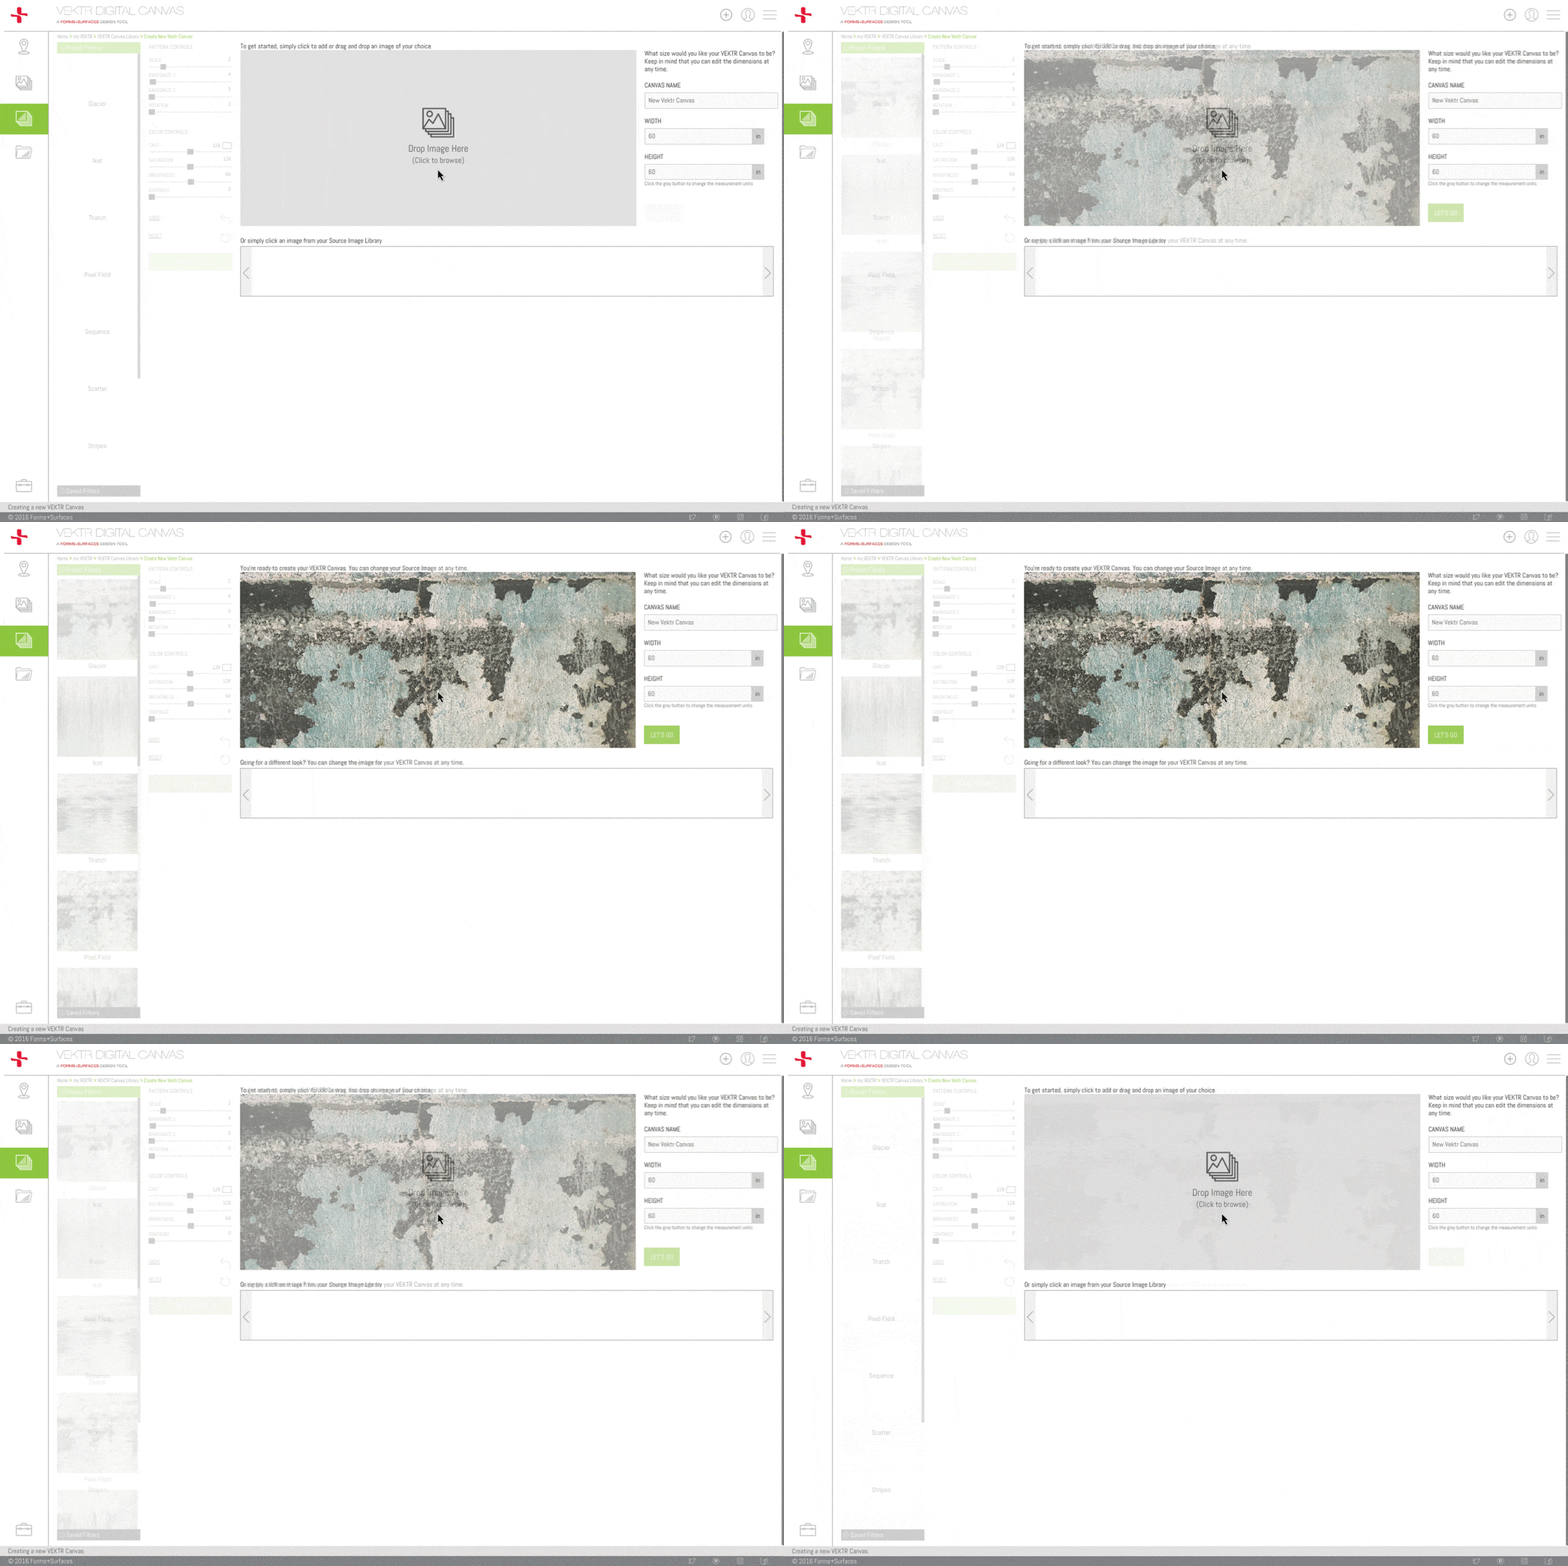
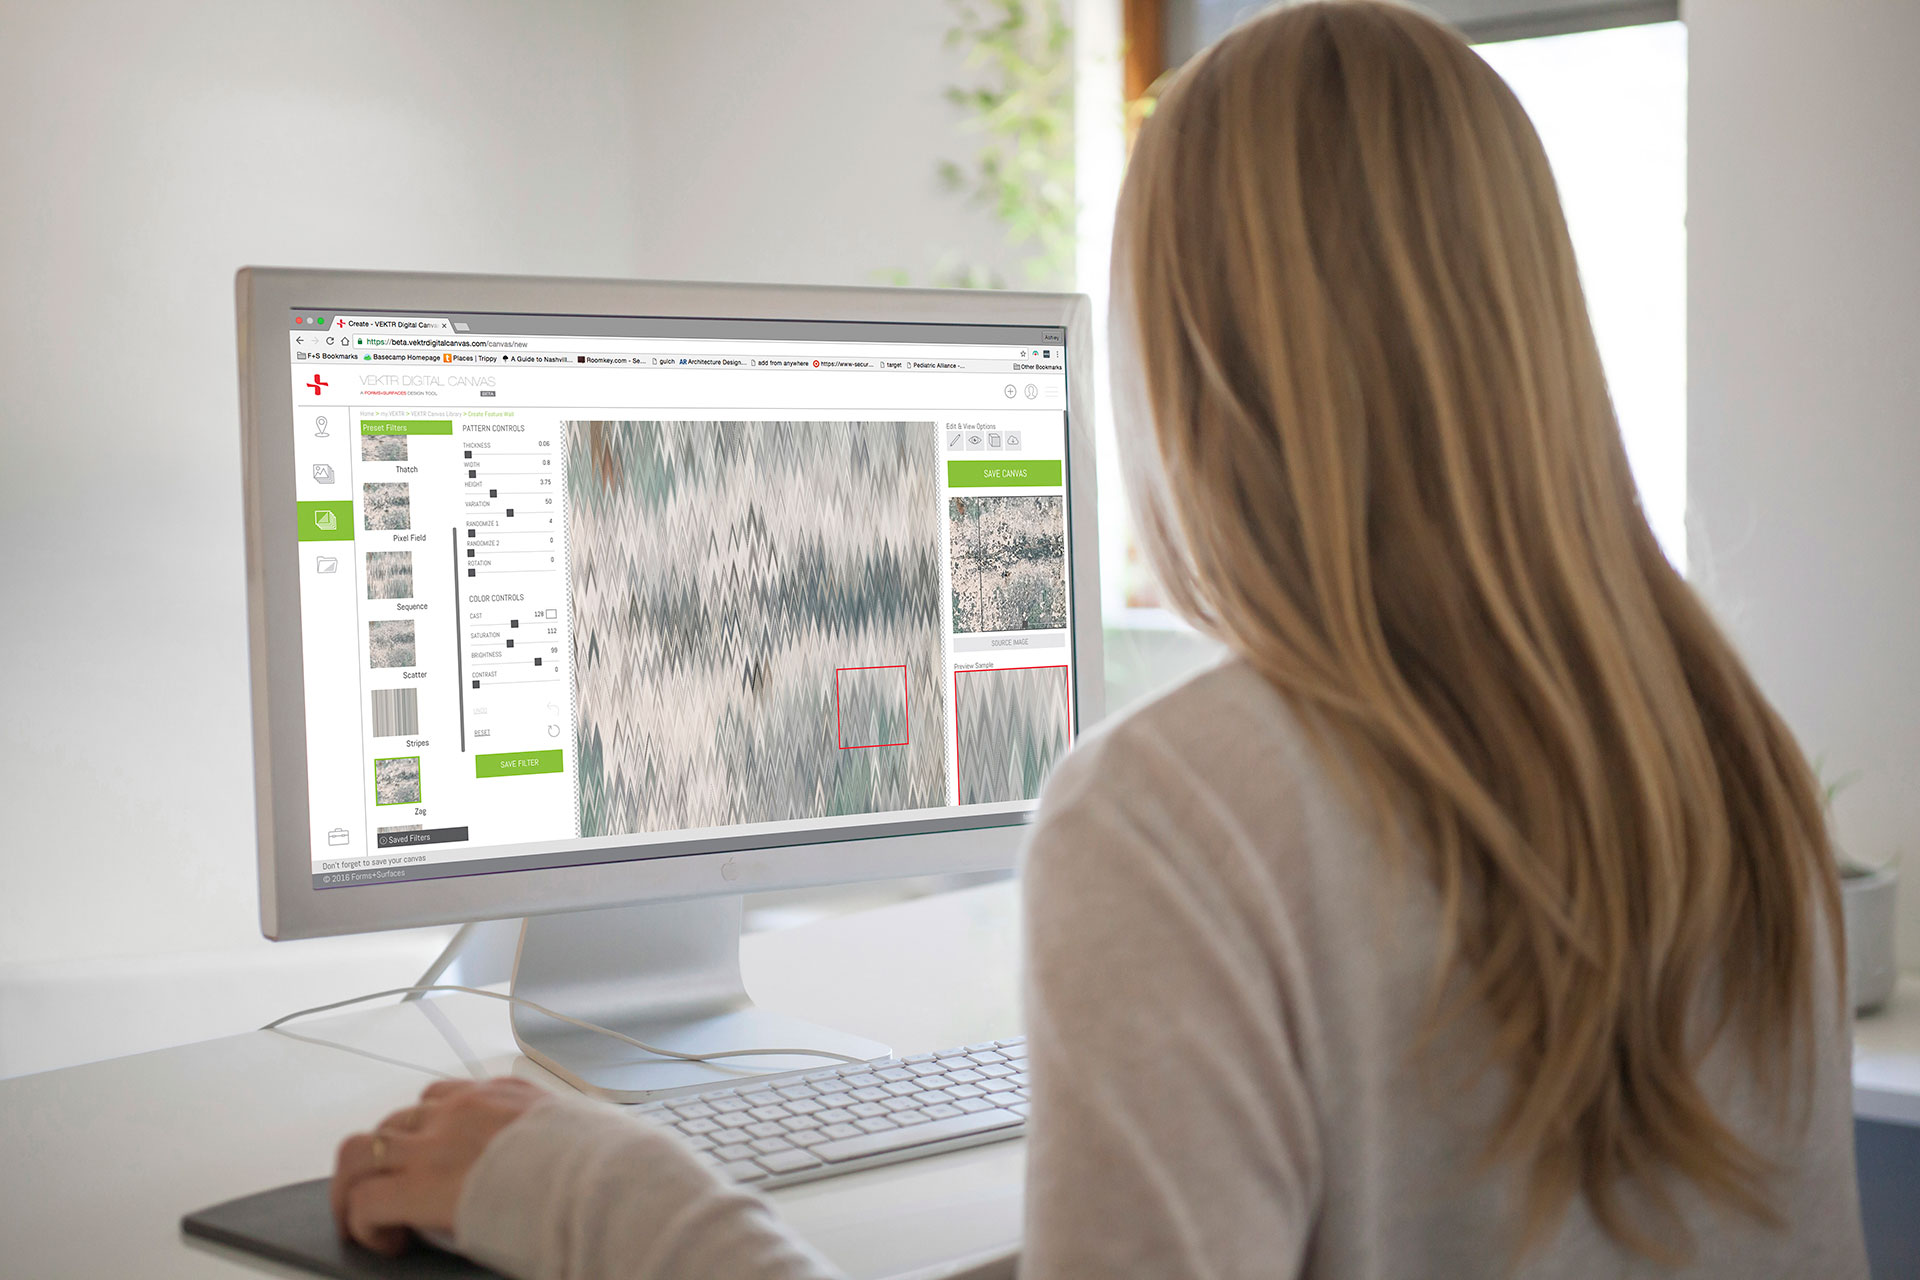
The VEKTR Digital Canvas workspace is comprised of the menu bar, Preset Filters, Pattern and Color Controls, Canvas board, and editor (from left to right).
Getting started is easy: simply click to add or drag and drop your source image into the VDC workspace.
4 NAME AND SIZE YOUR VEKTR CANVAS
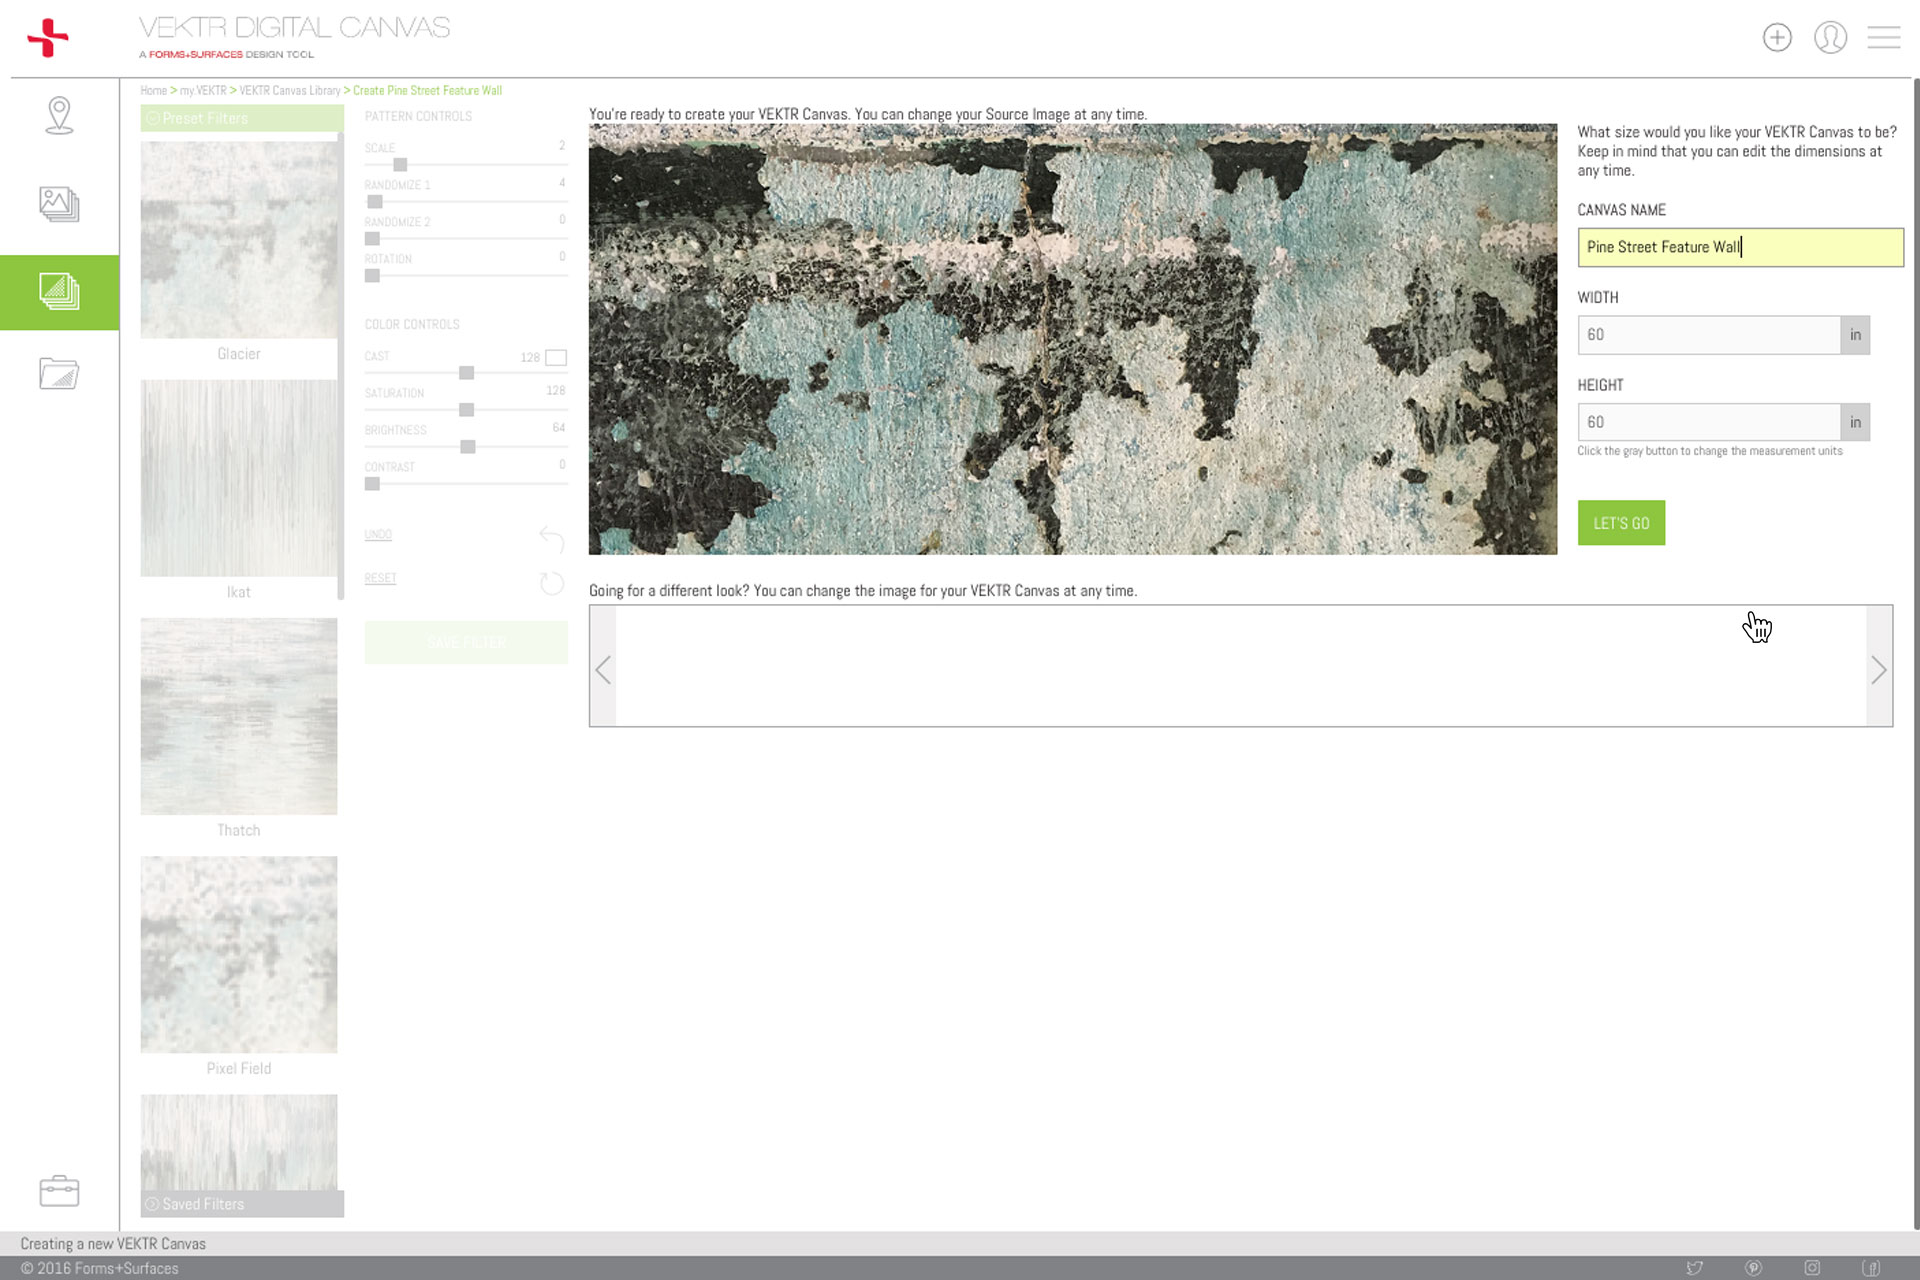
If you know the dimensions of your project application, you can set them now (on the right side of the workspace). Name your project, and you're ready to go!
5 CUSTOMIZE YOUR DESIGN WITH FILTERS
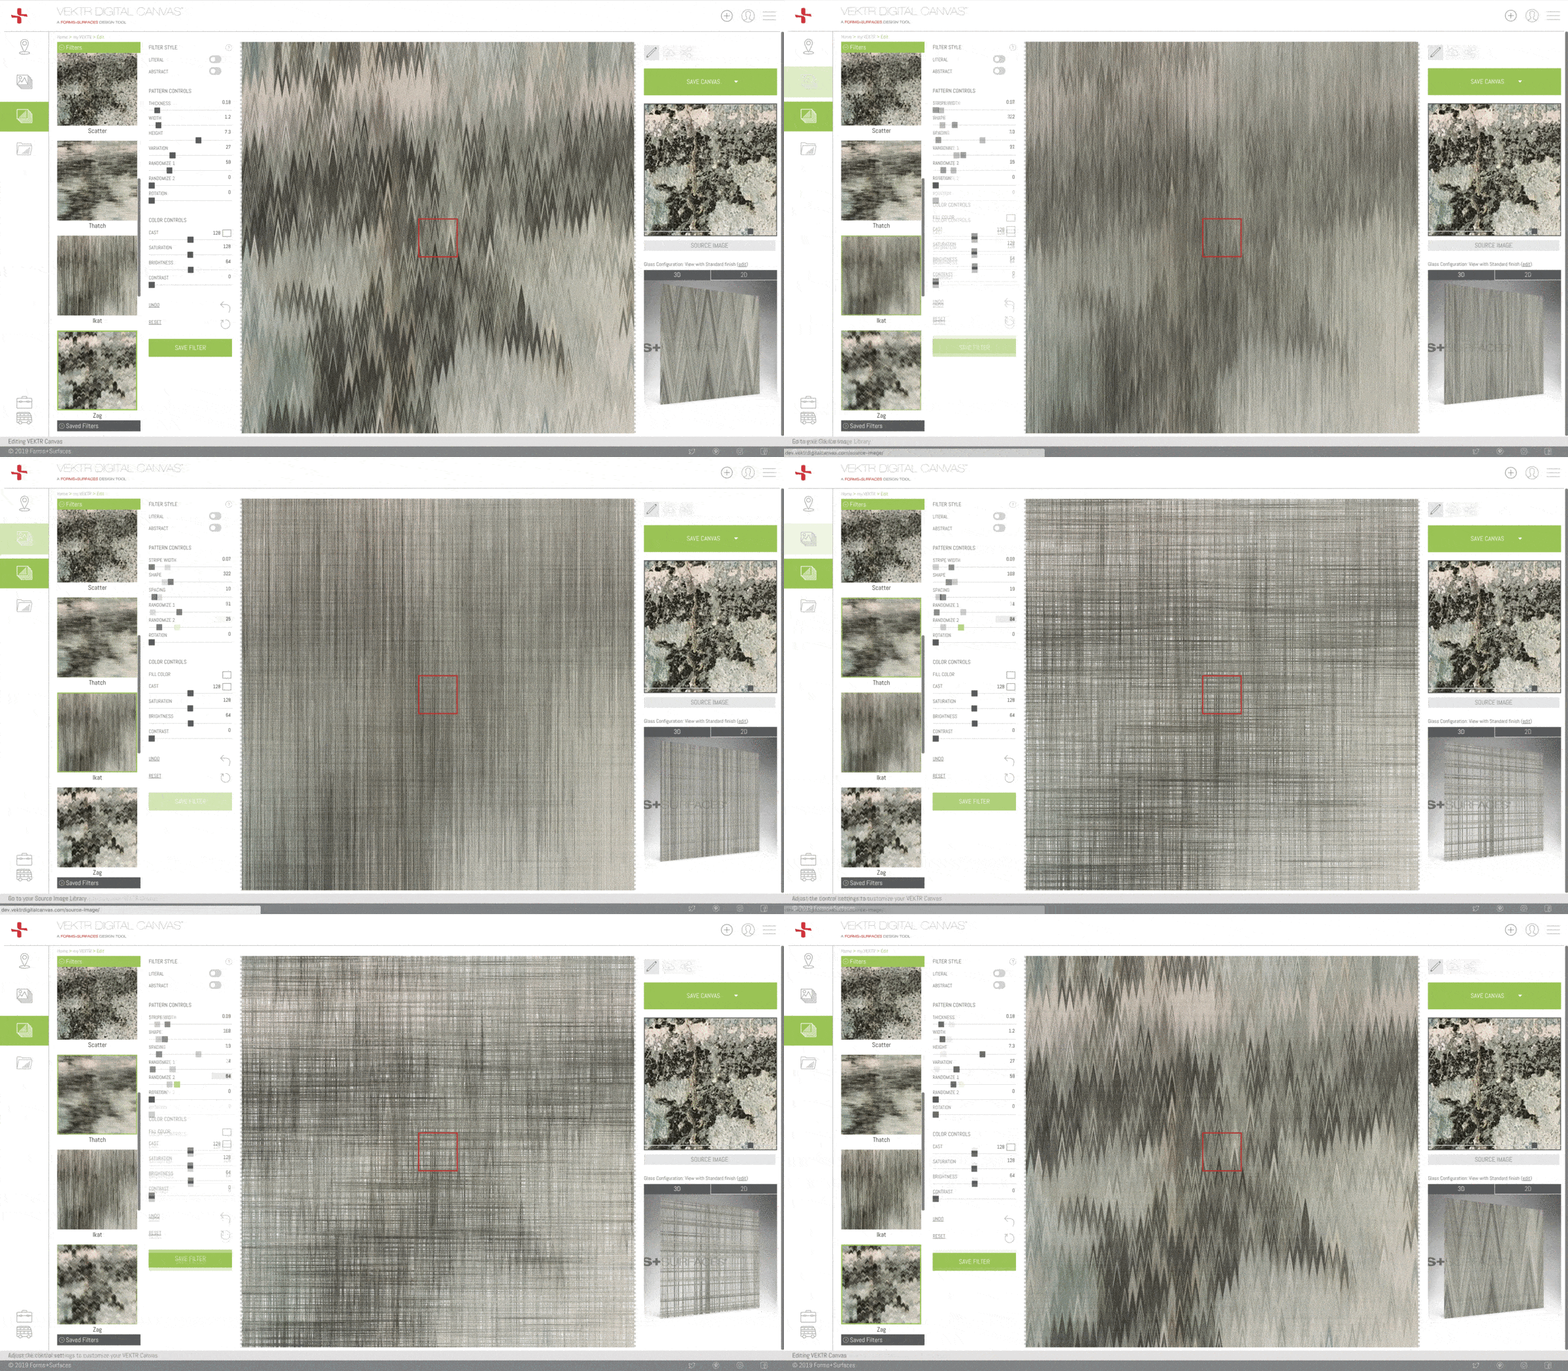
From there, use the filters to explore visual effects. Adjust the pattern and color controls to vary abstraction levels and change colors.
6 DEFINE YOUR DESIGN
As infinitely scalable vector artwork, VEKTR gives you the freedom to focus on the creative process. To further customize your design, pan and zoom on your Source Image (on the right side of the workspace).
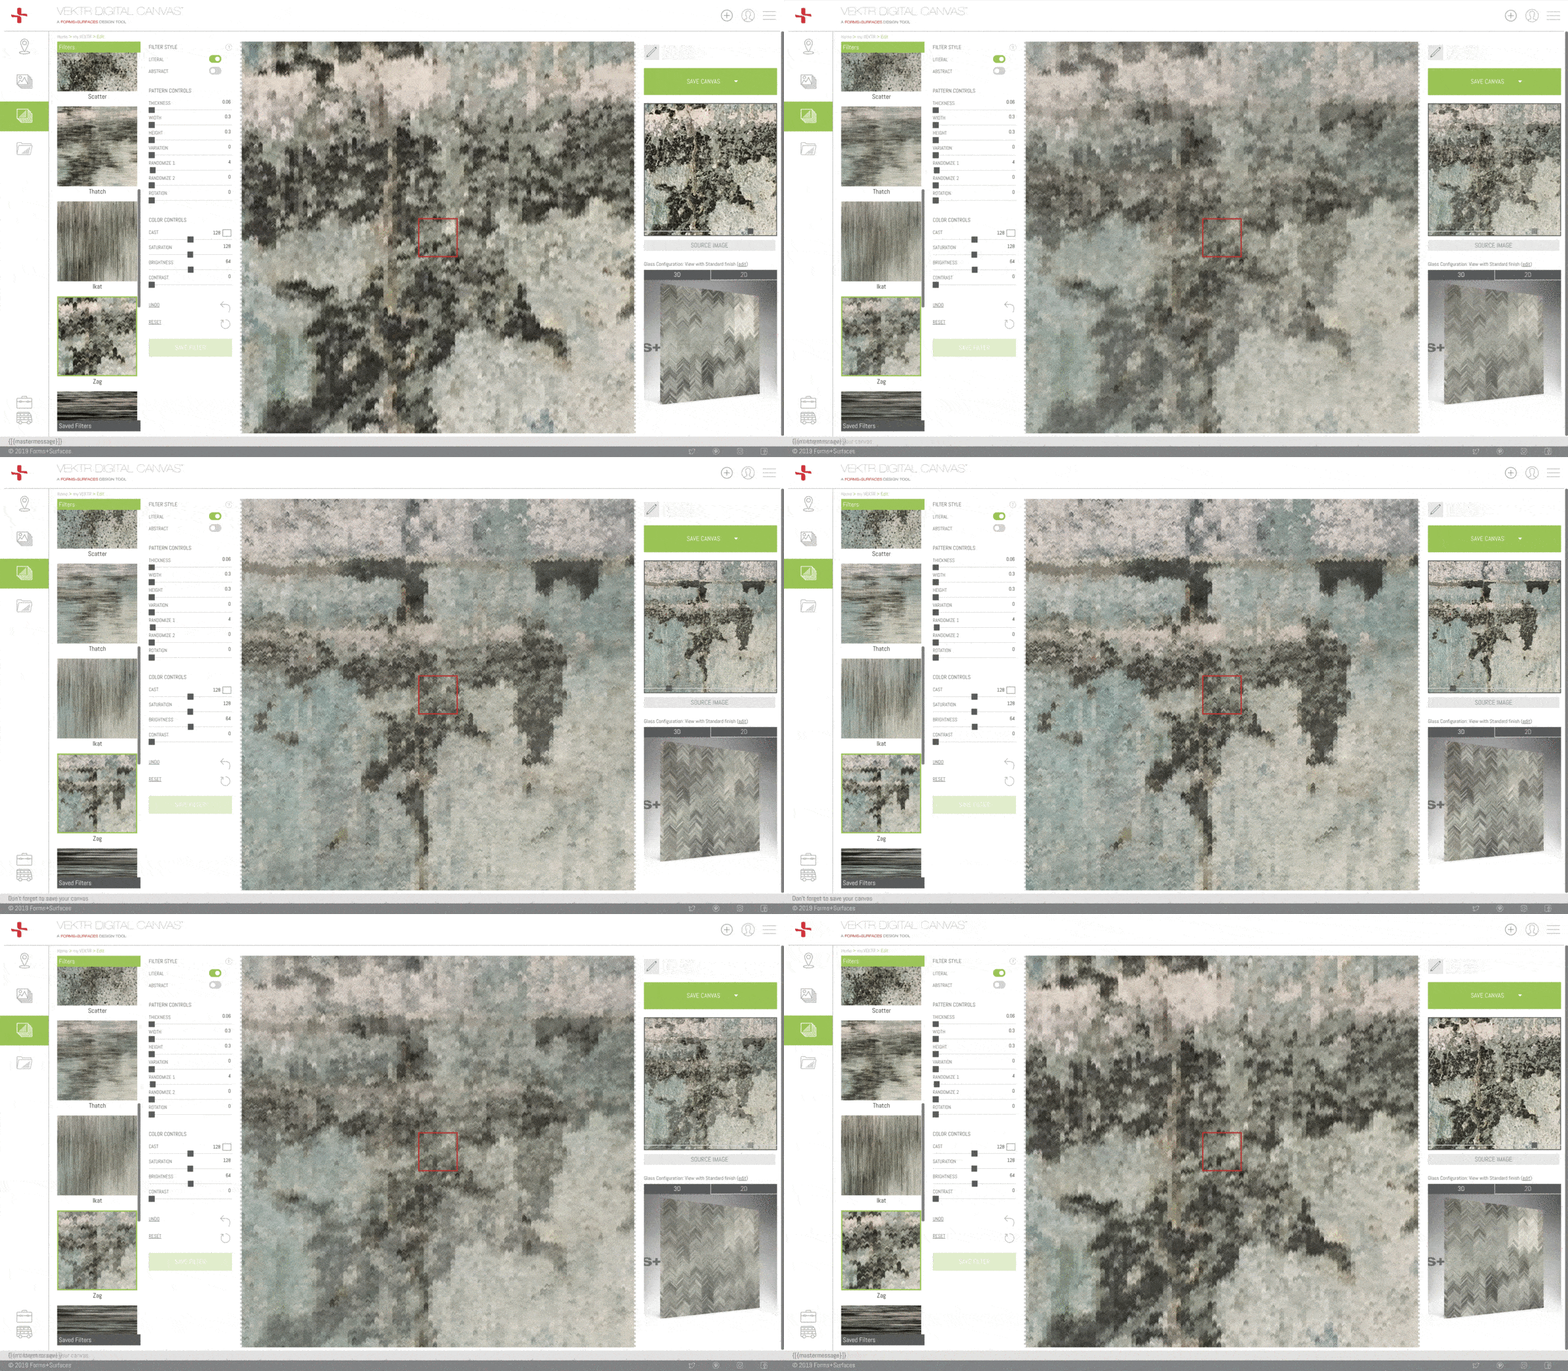
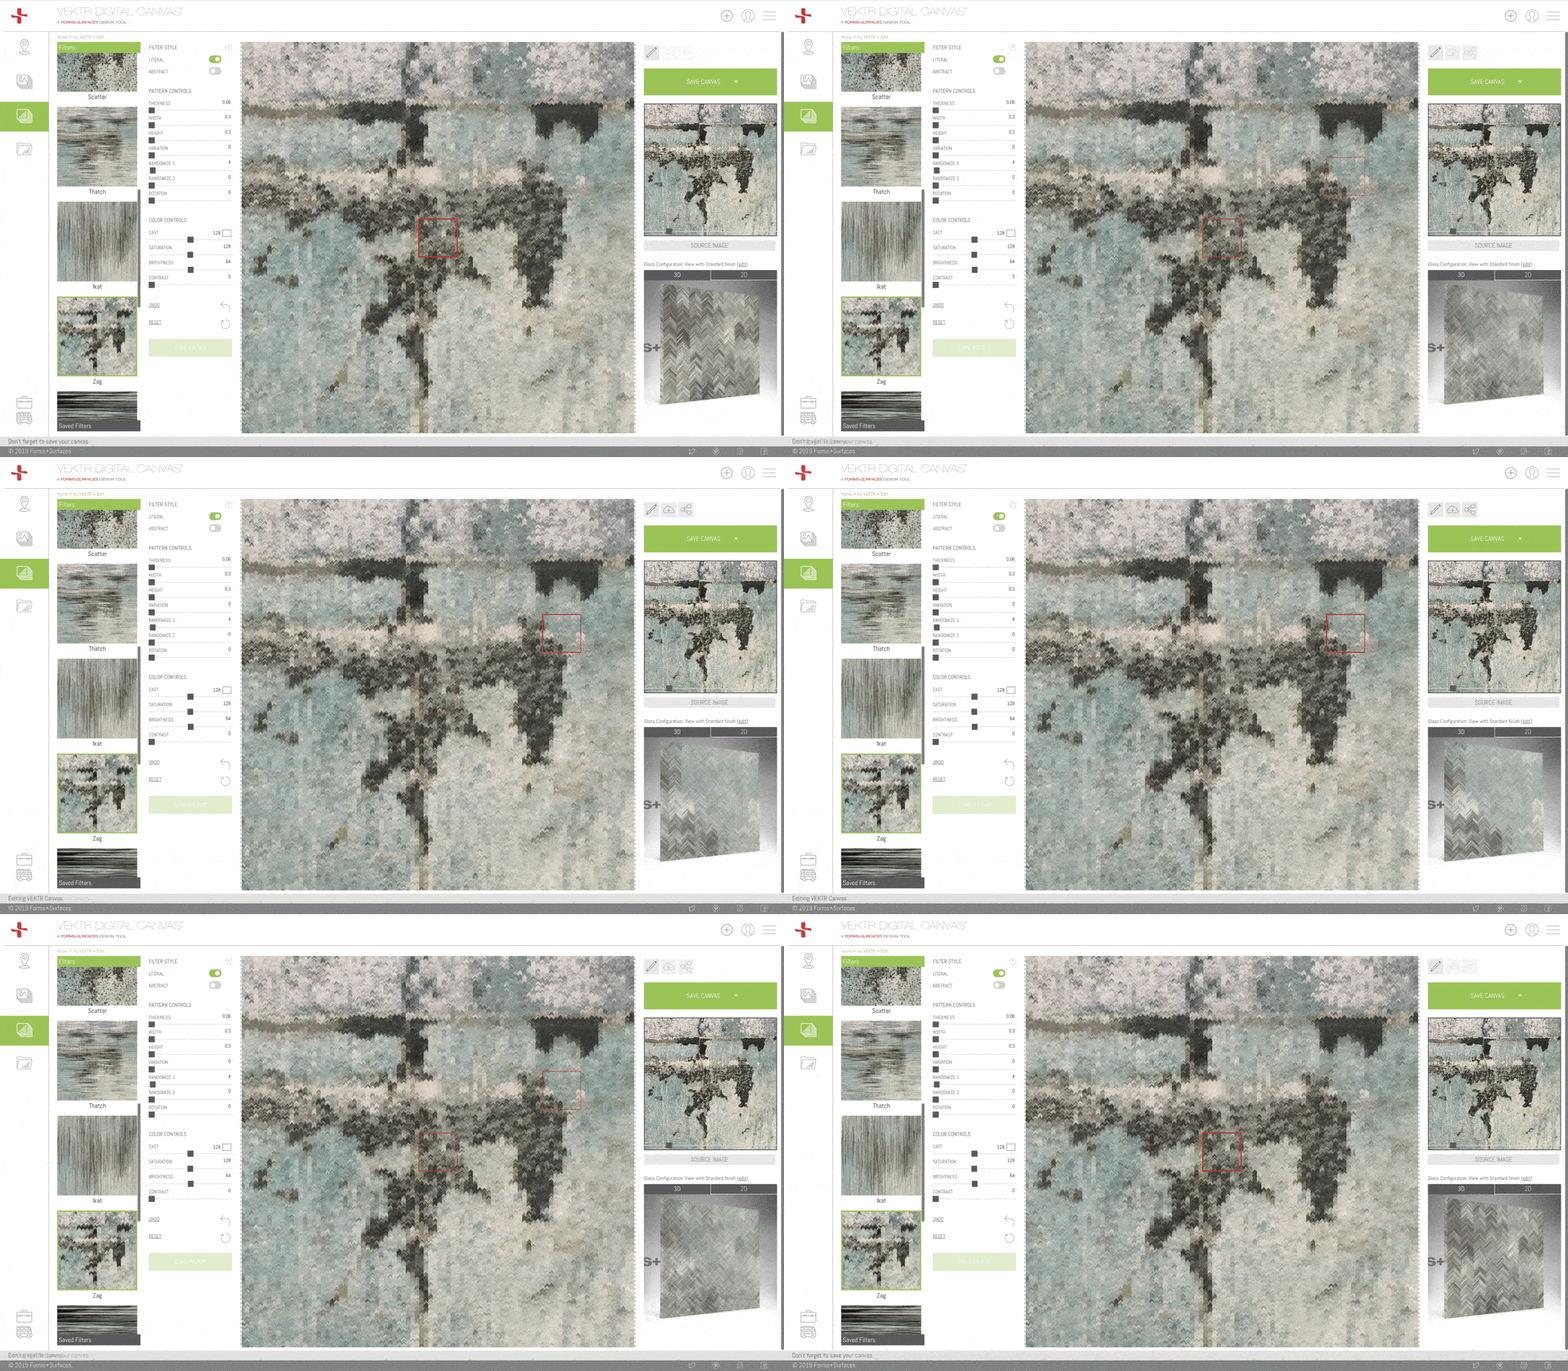
Define your VEKTR Canvas Preview Sample by using the red square panning tool.
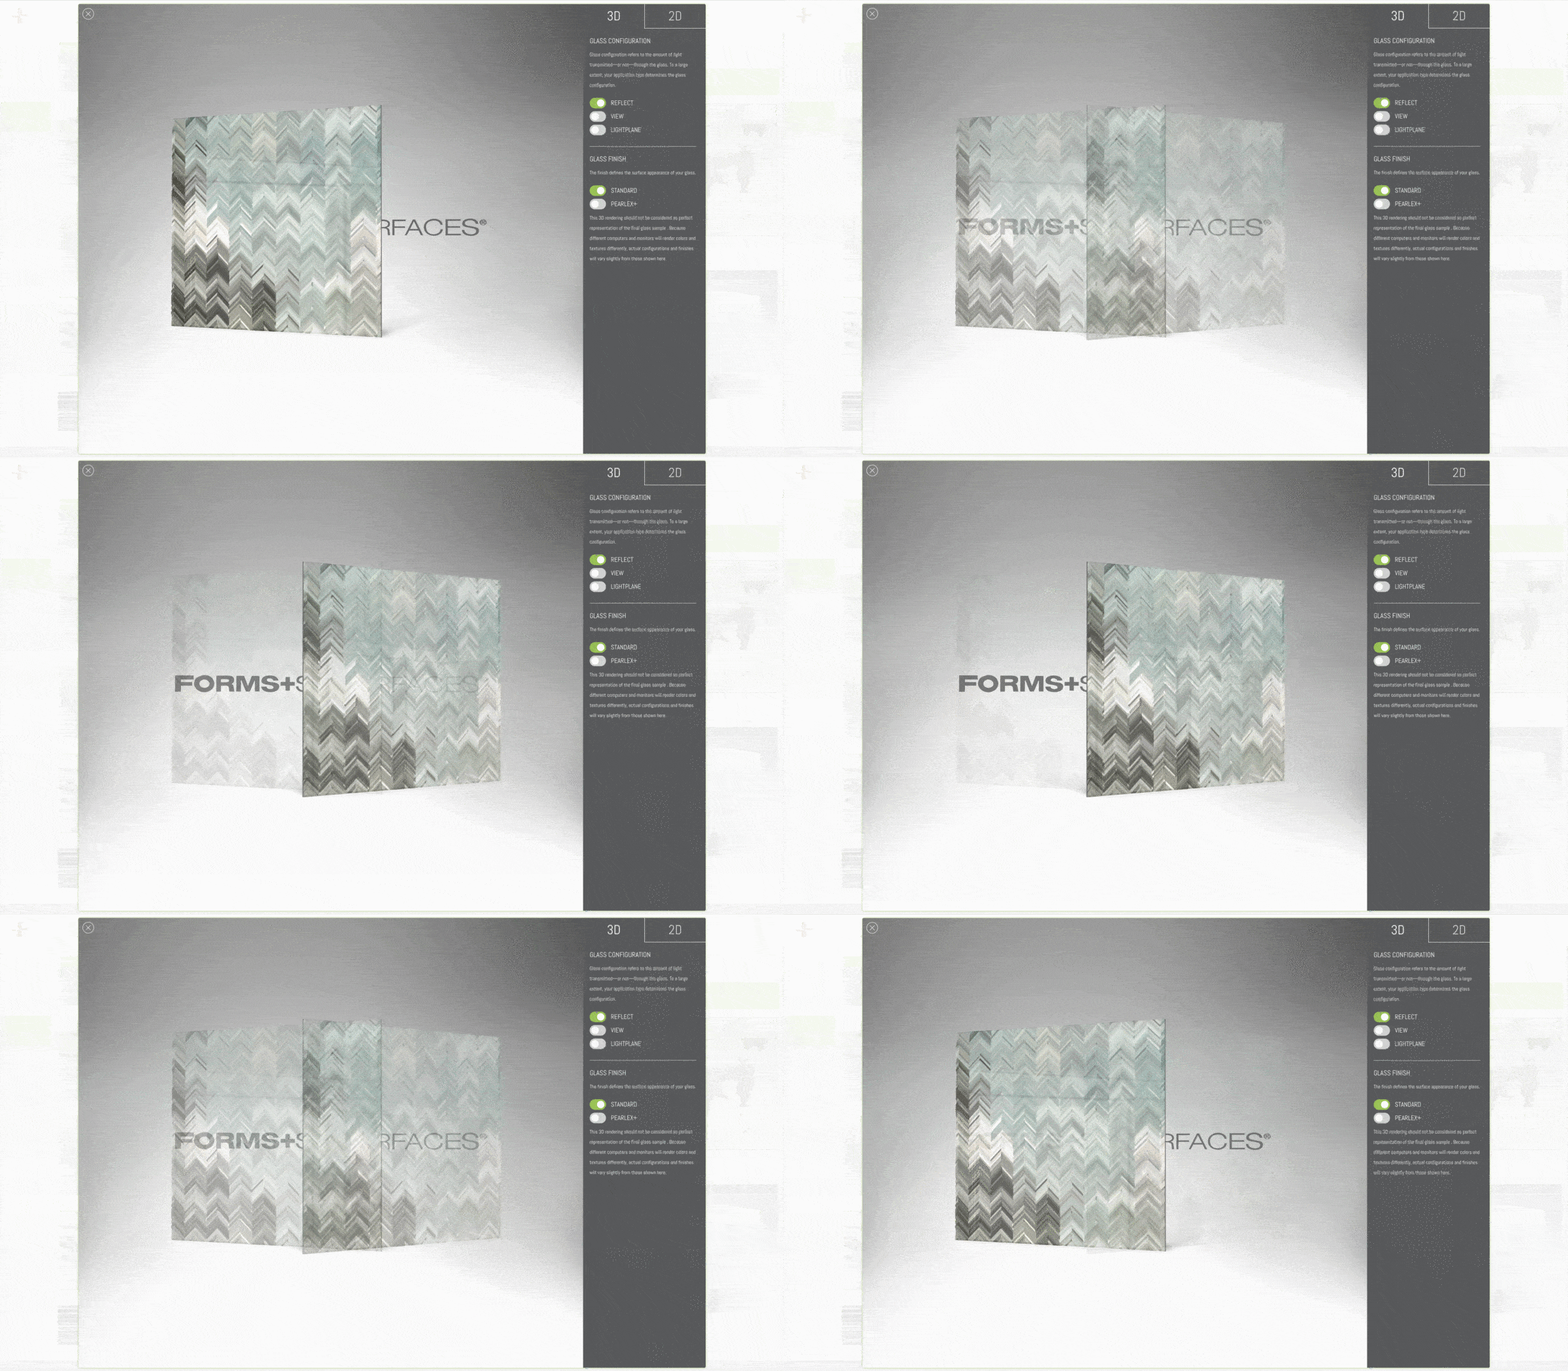
7 VISUALIZE YOUR VEKTR CANVAS
To visualize your VEKTR Canvas in 2D and 3D, use the Edit & View options or click your Preview Sample.
8 DOWNLOAD
VDC canvases can be downloaded as a standalone image or as a comprehensive PDF for easy sharing.
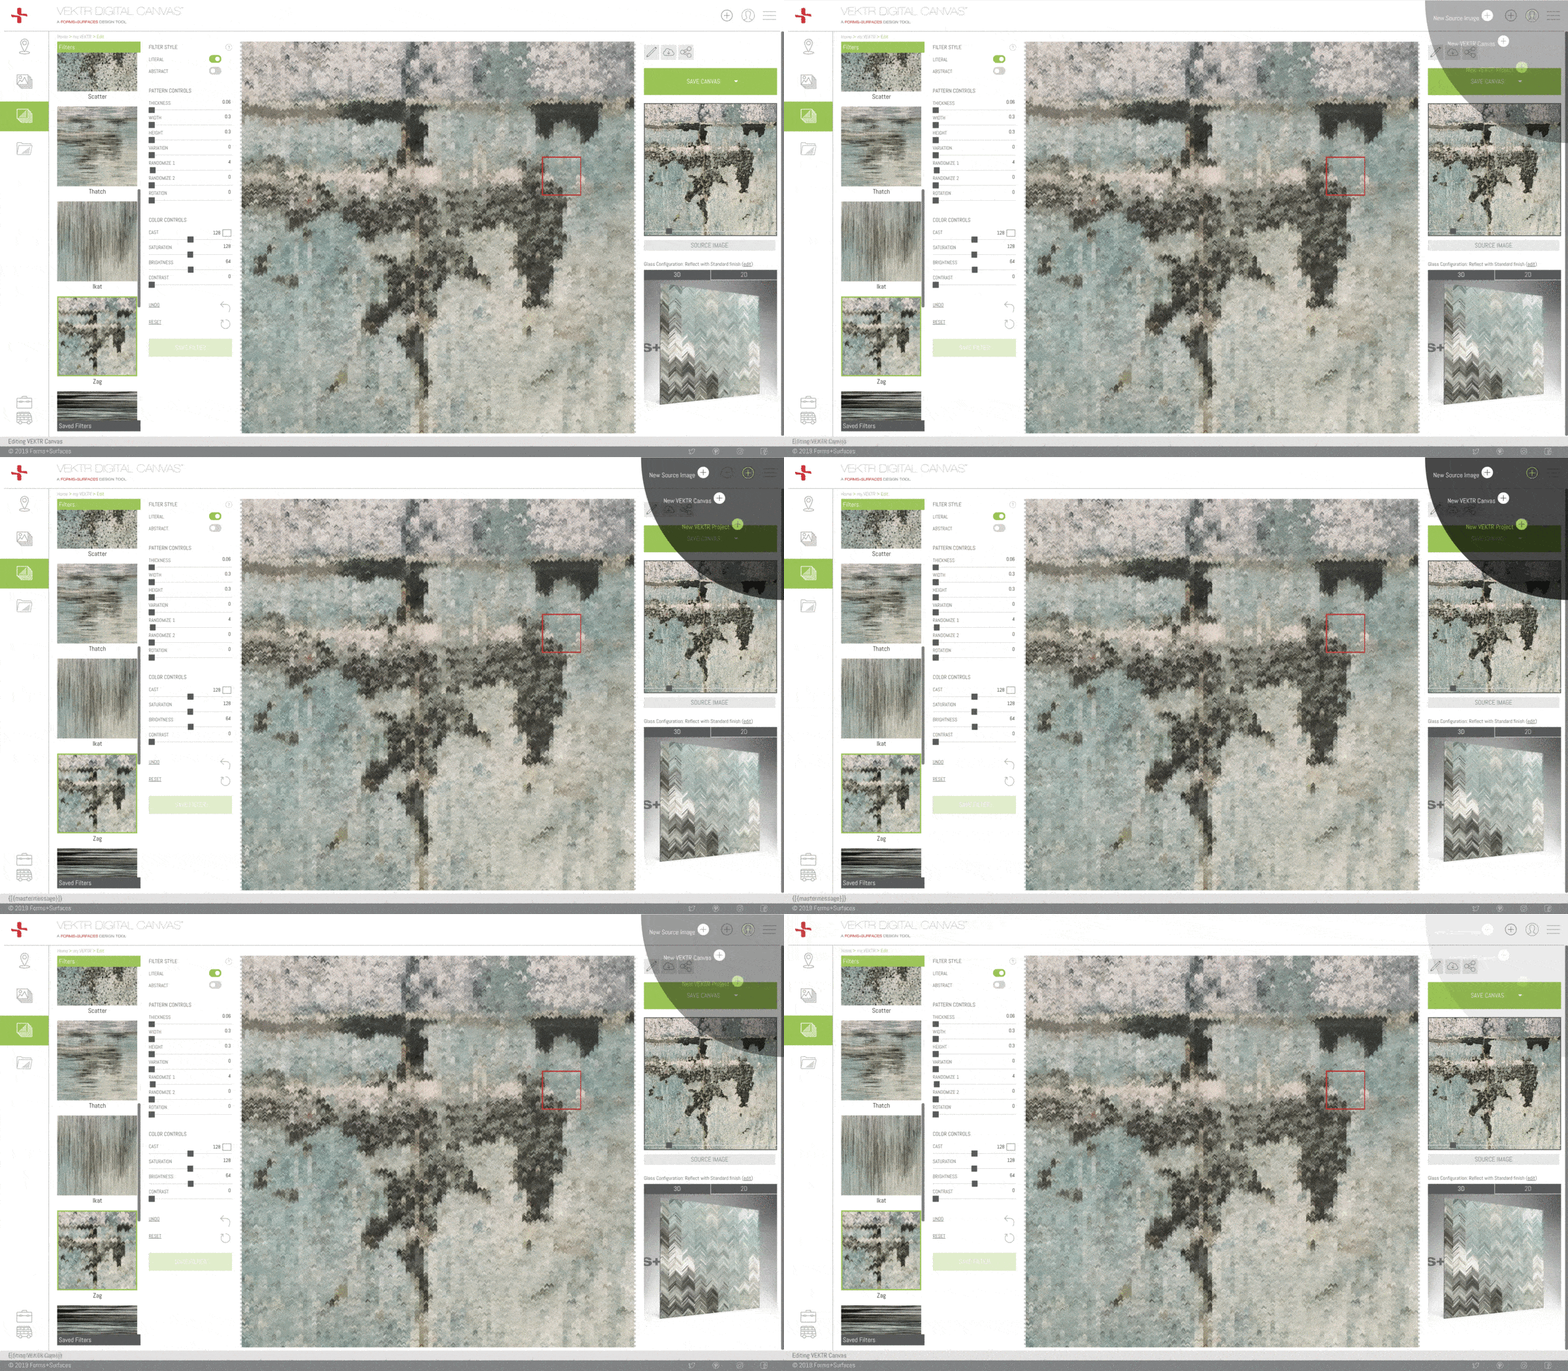
9 CREATE A VEKTR PROJECT
Registered users can create multiple canvases that can be linked to a single or multiple projects, which in turn can be submitted for budget pricing straight from the application. Use the navigation tool (top right of workspace) to quickly create a VEKTR Project.
10 SHARE
That was easy, wasn’t it? Don’t forget to share your creations with us on social media using #VEKTRcanvas
